Installing Hyper V role:
Start Add Roles and Feature Wizard
In Select Server roles- checkmark Hyper-V. Accept feature installation in Pop-Up.

Do not select anything in Virtual Switch as it can be created later also.

On Migration, page select nothing for now as the Authentication protocol can be configured later once the virtual machine is created.

Let see the default location as it is the Default Stores page or you can select Storage location if you have dedicated SAN or NAS.

On Confirm Installation selection, checkmark on restart the destination server and confirm in the pop-up.

Role installation will start and the computer will restart automatically.

After updating windows features, the computer will restart again.

Log on to the system, we will see the installation Succeeded message.

Installing Virtual Machine on Hyper-v Host
On Dashboard open Tools, select Hyper-V Manager.

In Action Pane, Select New.

In drop-down list select Virtual Machine.

On Specify Name and Location page, specify the Name to Virtual Machine.

Select generation 2 as you want to install a new OS with new features. If you want to install a prior version such as windows 7 or server 2008 select Generation 1.

Assign 1024 Start-up Memory, which you can select per your requirement.

In configure networking, let it be Not Connected. It will be configured later on as per requirement.

On Connect Virtual Disk page Specify the name, location, and size of the Hard Disk for Operating System installation.

In the installation option, you may select the ISO image file of the Operating System or select Install operating system later option.

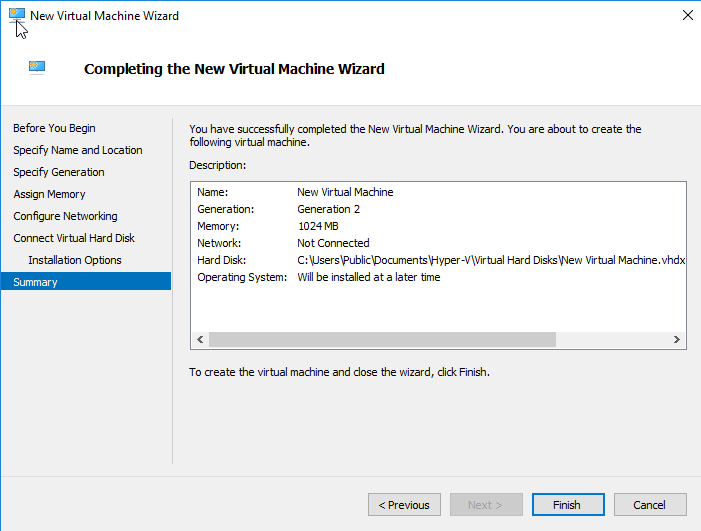
Click on Finish on the final page. A virtual machine will be created.
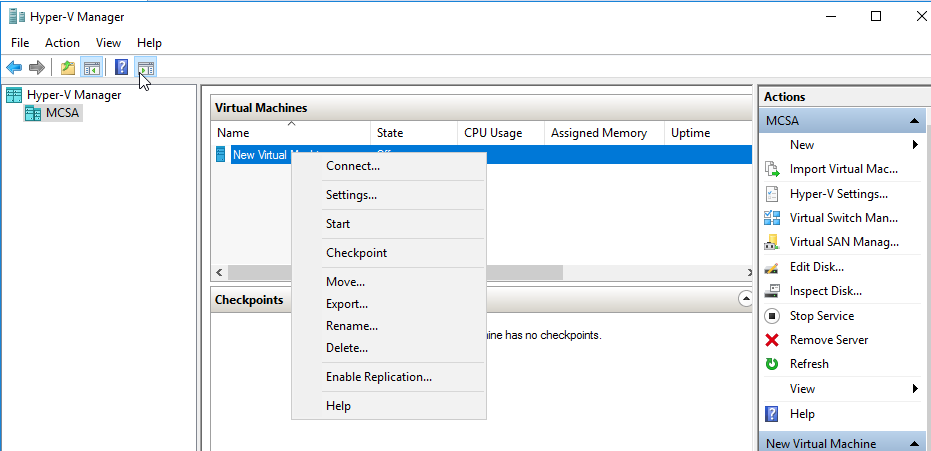
Once the machine is being created, go to the virtual machine page, right-click on the Virtual machine we created and select the setting.

Go to SCSI controller and select DVD Drive and add.
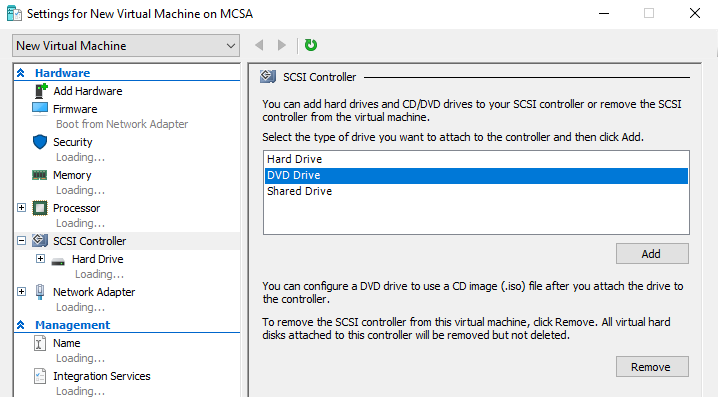
In the DVD Drive option select the image file using the Browse button.

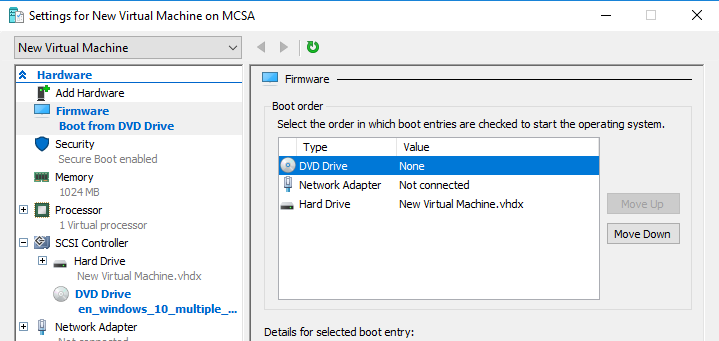
In Firmware option, Boot order selection, Move DVD Drive to first position Click ok.
Once again right click on Virtual machine and select connect.
Virtual Machine connection will open, Press Start Button.
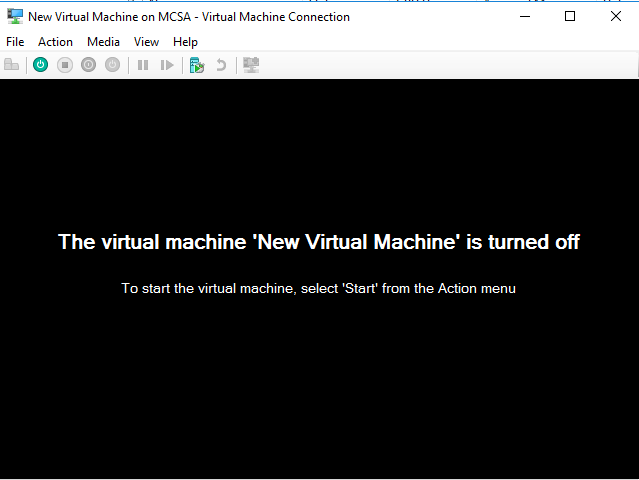
Click Mouse inside the console and press any key on the keyboard to begin windows installation.
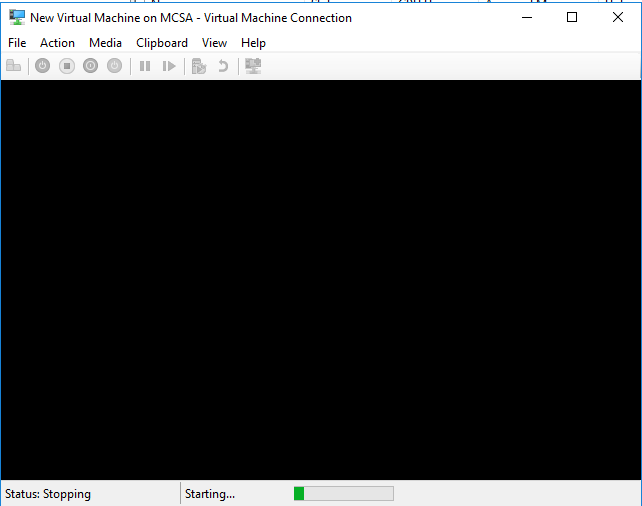
After installing the operating system, you will get your virtual machine ready and running.
Creating Network for Virtual Machine”
The virtual machine we have created is now connected with Network as you can see in the networking tab at the bottom. Select virtual switch manager in the Action pane.

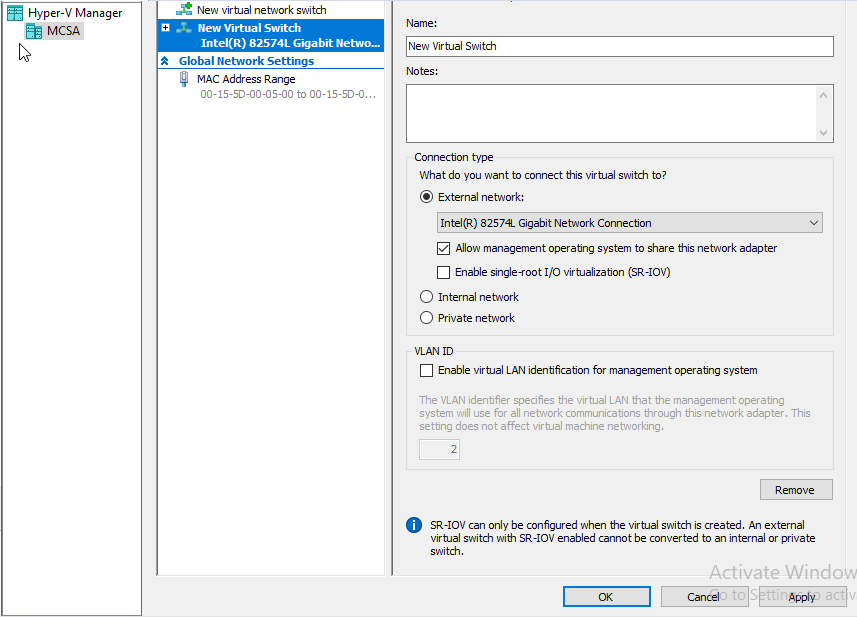
Select the switch type. We selected External as we want to connect our virtual machines to machines outside the host machine also. Press create Virtual Switch.

Specify the name of the switch. If multiple LAN Cards are available in the machine you can select on which network you want to create a virtual switch.
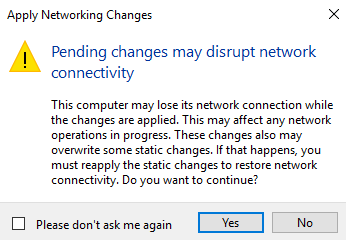
An informational message will display, select Yes. The creation of a Virtual switch will take some time.
Once the switch is created, you can see an ethernet connection in Network Connections. All IP configurations will be transferred to a virtual adapter.
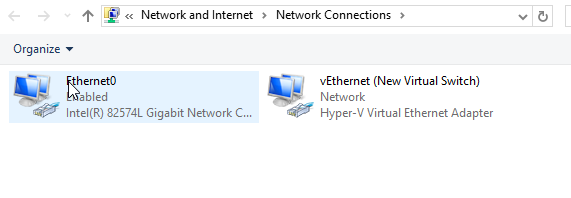
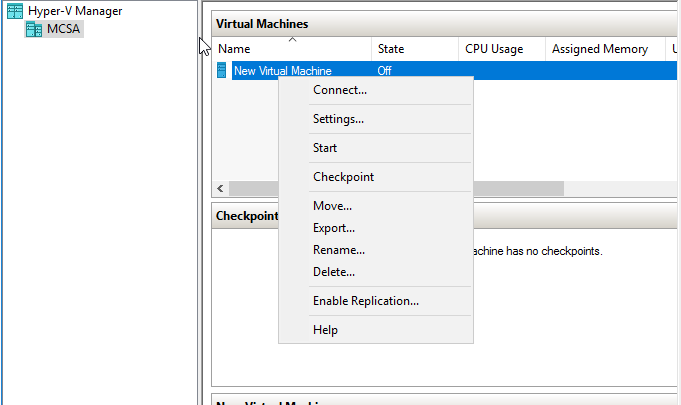
The select virtual machine you created, right-click and go to settings
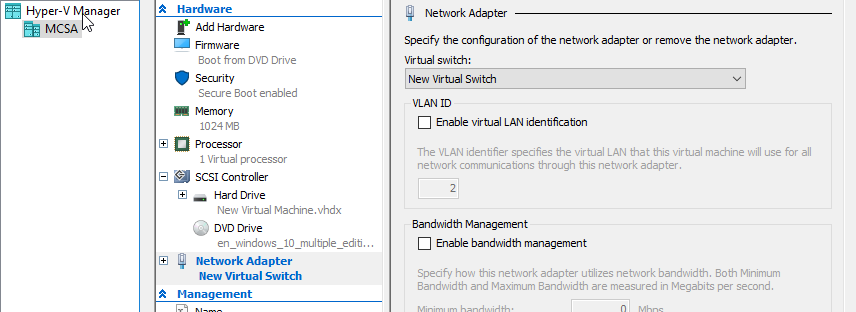
Select Network Adapter and in Virtual Switch select the switch you just created.
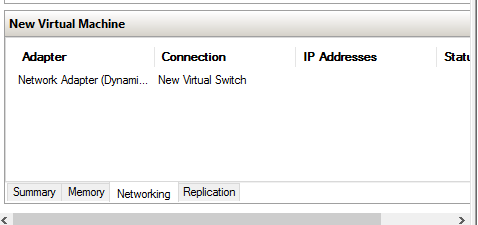
Now in the Networking tab at the bottom, we can see network status ok.
Adding Storage to Virtual machine:
First storage will be configured on the host operating system (Base Machine)
Open disk management on the host operating system. Go to the action menu select Create VHD.
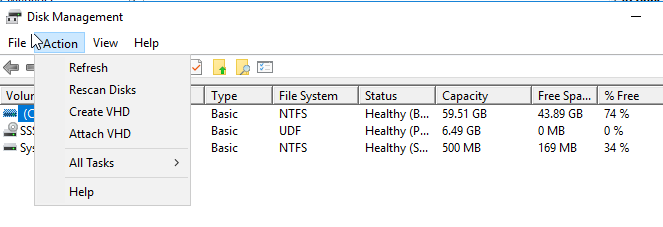
We can specify the size of the virtual hard disk greater than the available physical size. Location can be selected as need.
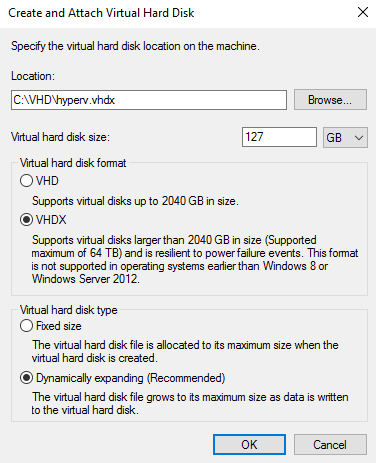
Once the Disk is created initialize the disk and create a new volume so that it can be used to store data.

Now store some data on the drive we just created.
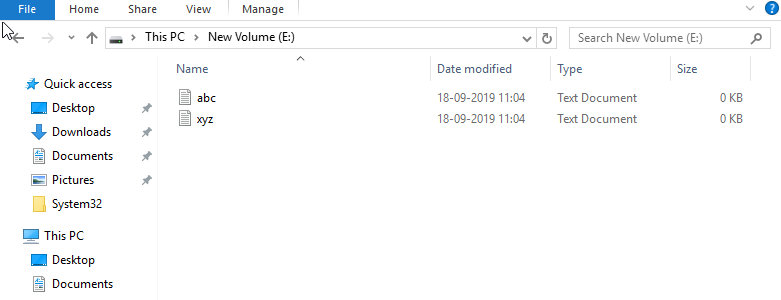
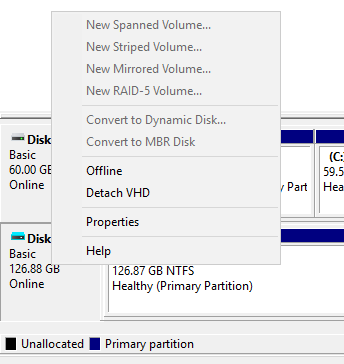
Now make the virtual hard disk offline from the base machine.
Go to the virtual machine we created, right-click on it, and go to settings.

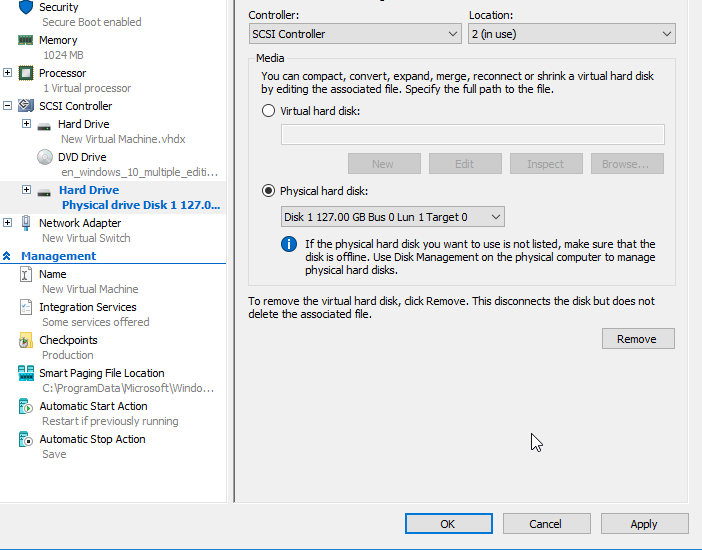
Select SCSI controller, Hard Drive, And select ADD.

Select Physical Hard Disk: Press apply and ok to get virtual disk added to Virtual Machine.
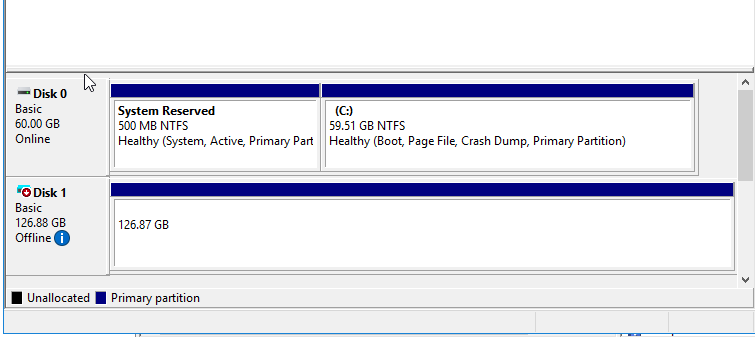
Open the Disk management in the Guest operating system. You can see the offline disk. Bring the disk online.
Now open explored, you can see the data created on the disk in the host operating system is now available inside a virtual machine.

Check Out the Headphones – 50% to 70% Off
Check Out the Earbuds – 50% to 70% Off
Grammarly – Best Free Grammar checker | Spelling checker | Mistake-free document writer for Laptop/Desktop
Check Out The LAB Configuration eBook – Class A, Class B, Class C, MiN worth $78 Get at $18
