
Implementing Network Address Translation
NAT is a component of the RRAS service that enables corporate computers to access resources on the Internet or other public networks. NAT translates private IPv4 addresses in a corporate network into public IPv4 addresses.
To configure NAT on SRV01, open Server Manager and click on Add roles and features, select Remote Access in server roles and LAN Routing as a role service and complete the installation process.
Now open Routing and Remote Access from tools in Server Manager. Select SRV01 then right-click and click on Configure and Enable Routing and Remote Access.

On Routing and Remote Access Server Setup Wizard page, click next.

On the configuration page, select Network Address Translation (NAT) option and click next.

In NAT Internet Connection Page, select Use this public interface to connect to the internet option and select ethernet1 as on it public IP address is configured, then click next.

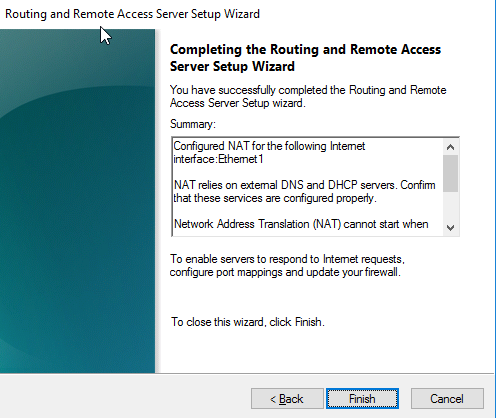
Click finish for completing the Routing and Remote Access Server Setup Wizard.
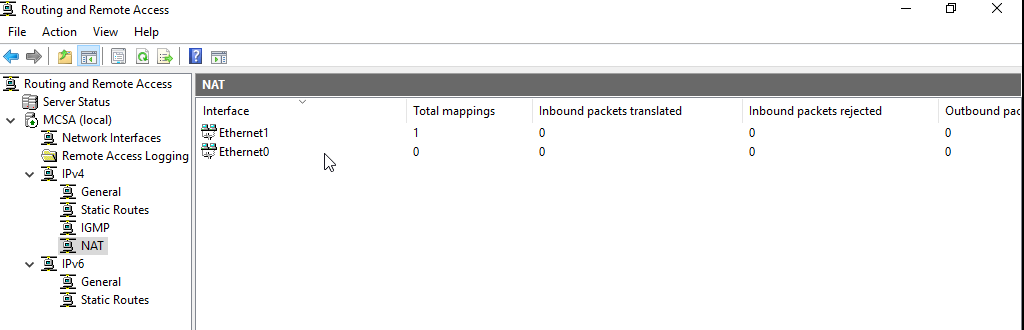
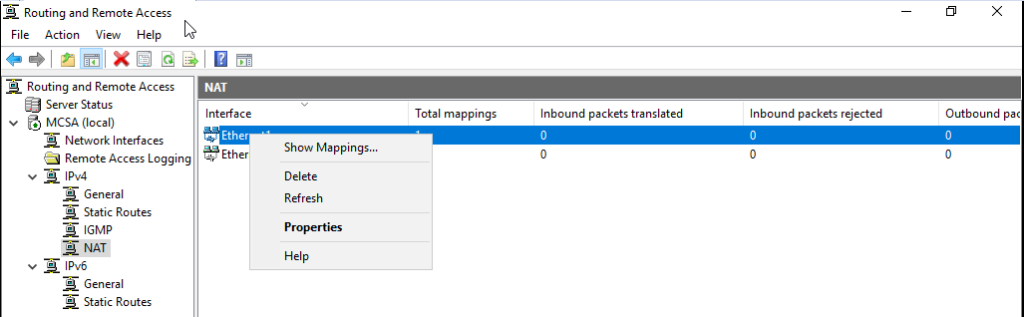
In Routing and Remote Access Console, expand IPv4 and double click on NAT.
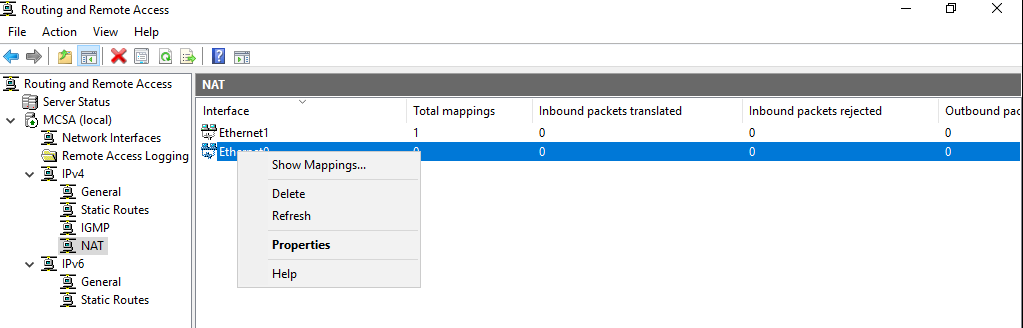
In Routing and Remote Access console, expand NAT, right-click Ethernet0, and click properties.
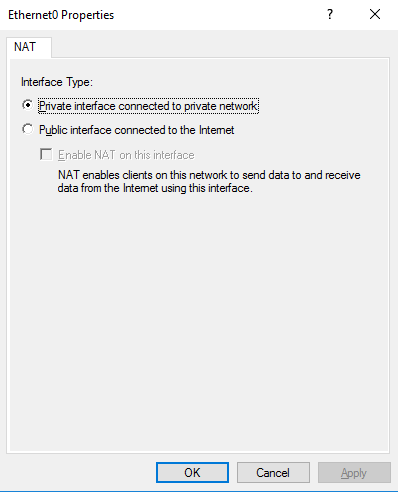
In ethernet0 properties, check that this interface is set as Private Interface connected to the private network.
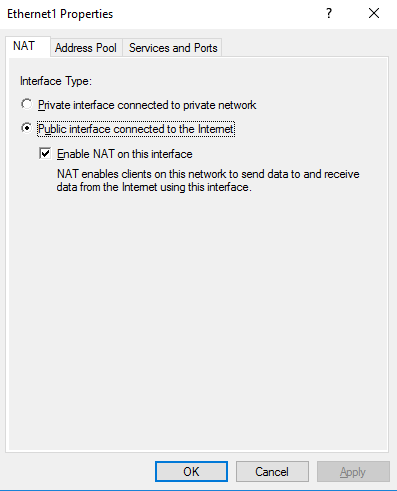
Now in the Routing and Remote Access console, expand NAT, right-click Ethernet1, and click properties.
In ethernet1 properties, check that this interface is set as a Public interface connected to the Internet and make sure that Enable NAT on this interface is selected.
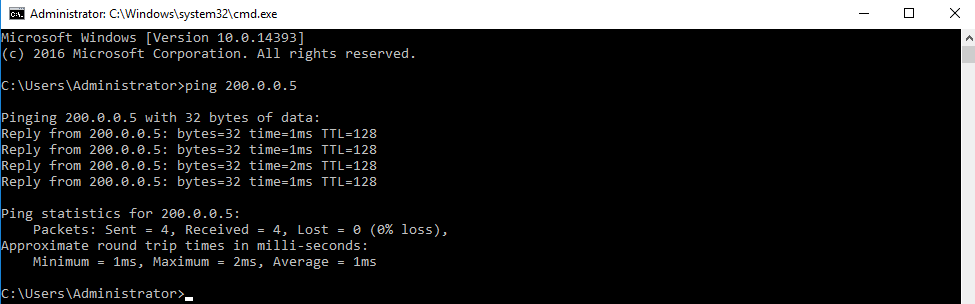
After NAT is configured you can access the internet resource. Now we can ping the external client machine that is on WAN from our internal network
Configuring Address Pool on NAT server
Now we are going to configure the Address Pool in NAT and going to reserve the Web Server private IP address to public IP address so that the webserver can be accessed from the external network via public IP address. In Routing and Remote Access console, go to NAT and right-click ethernet1 i.e. public interface, and click on properties.
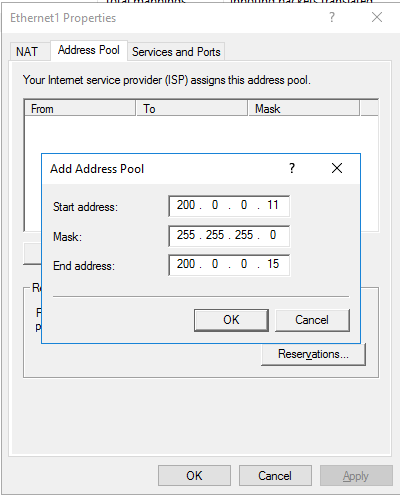
In ethernet1 properties, go to the address pool tab then click on Add.
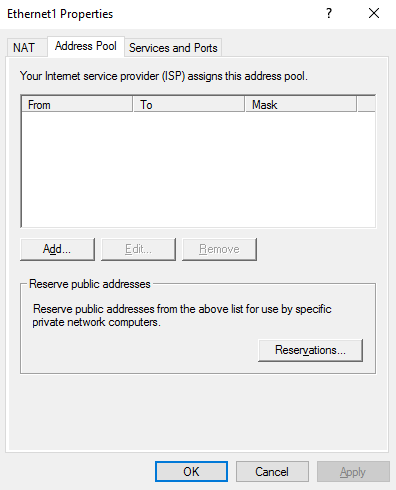
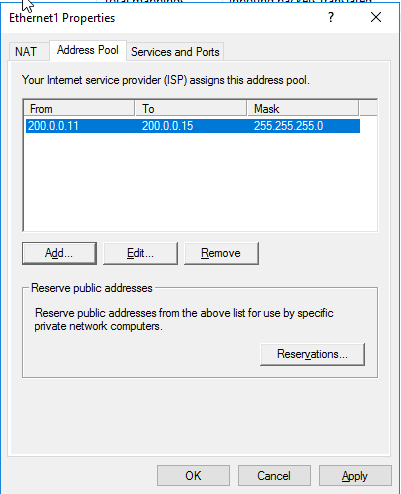
In Add Address Pool, specify the Start and End Address and the subnet mask. This IP Address range is the Public Address provide that is provided by the ISP. After specifying the public address pool click on Ok.
On Ethernet1 properties, in the Address Pool tab click on Reservations.
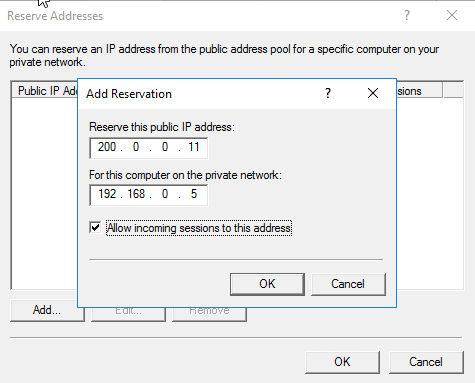
In Reverse Address, click on Add.
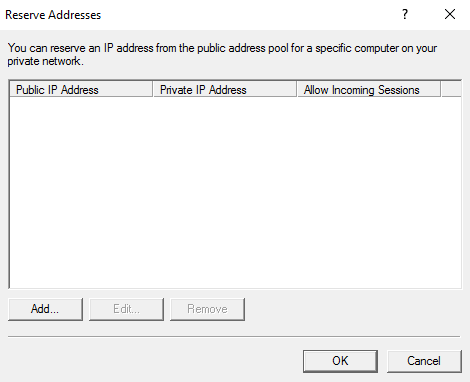
In Add Reservation, specify the reserve public IP address and the computer IP address on the private network, click on Allow incoming sessions to this address and click on Ok.
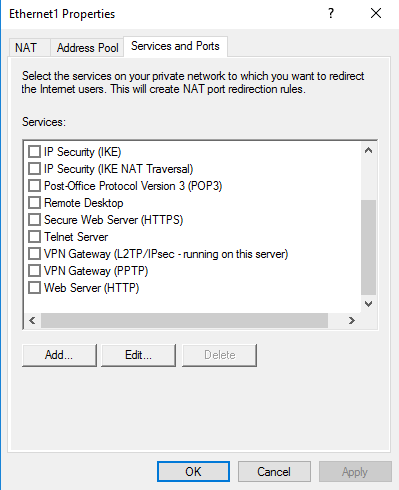
In ethernet1 properties, go to Service and Ports, from the services, select Web Server.
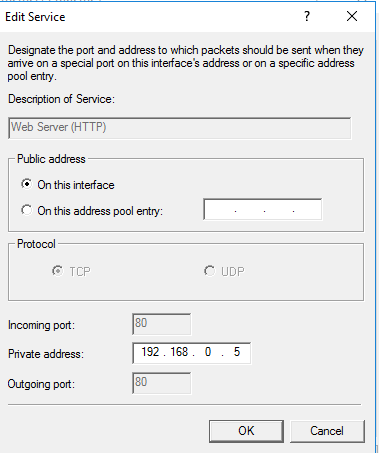
In Edit Service, specify the private address and click on Ok.
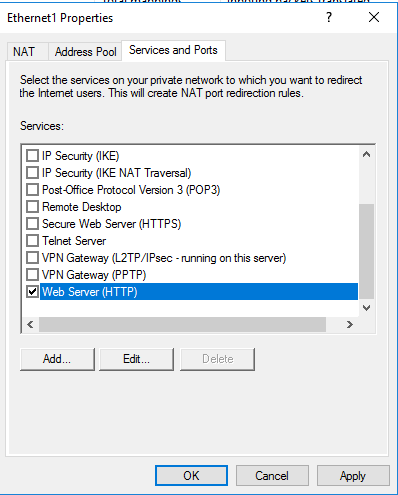
Make in Services and Ports tab Web Server is selected, then click ok.
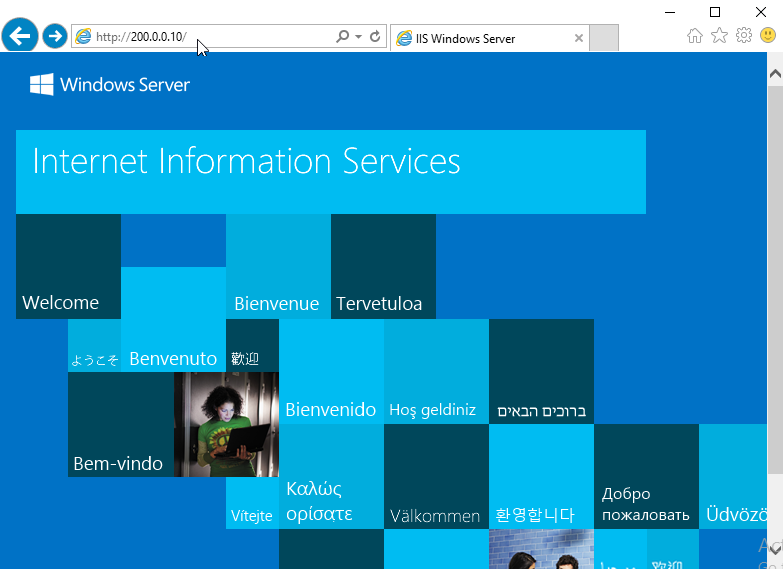
Now from the external client, we can access the internal web server that we have configured in Address Pool. Open Internet Explorer and type http://PublicIPADddress and press enter. You can see that the web page of the organization
After the website is registered with the ISP, you can access the website with the web site name Here we are entering the record in the Host file.
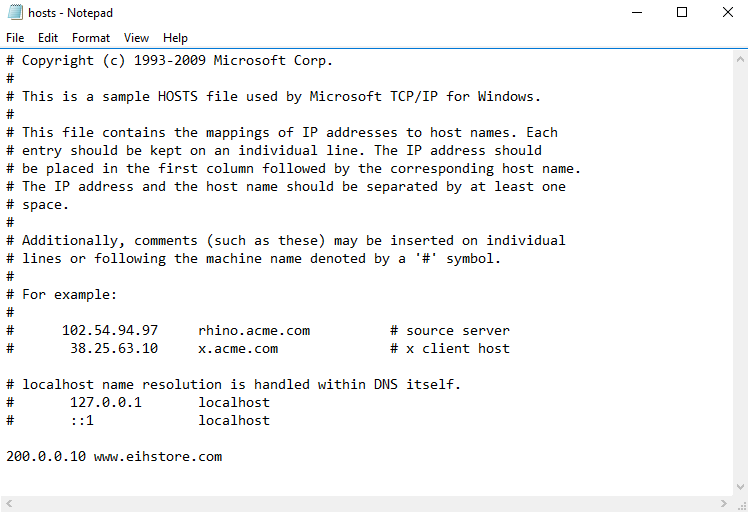
Now access the website with the URL.

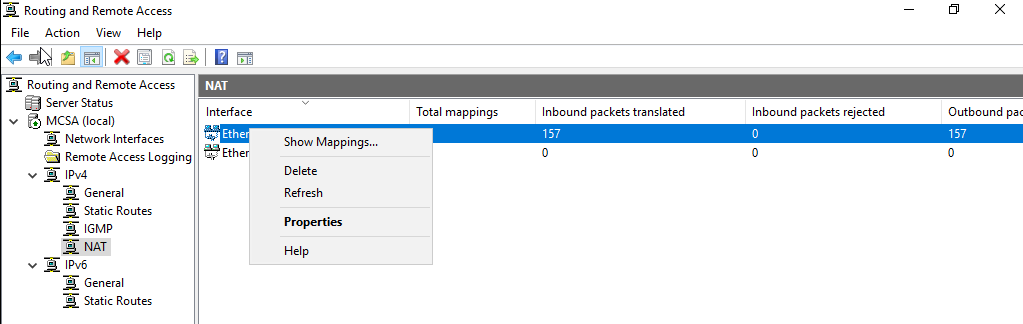
Now go to SRV01, in the Routing and Remote Access console, expand NAT, right-click Ethernet1 i.e. public interface to check the NAT translation, and click on Show Mappings.
In NAT Session Mapping Table, the Address Translation with HTTP access can be seen for the webserver. Here the public IP address i.e. 131.120.1.111 is translated to a private IP address i.e. 172.30.10.1 for port 80 from a remote or external client i.e. 131.120.1.101.
Check Out the Headphones – 50% to 70% Off
Check Out the Earbuds – 50% to 70% Off
Grammarly – Best Free Grammar checker | Spelling checker | Mistake-free document writer for Laptop/Desktop
Check Out The LAB Configuration eBook – Class A, Class B, Class C, MiN worth $78 Get at $18