
Implementing DNSSEC (DNS Securing)
In DNSSEC infrastructure, Key Master i.e. primary server must serve key management and key generation service to the environment. Key Master is responsible for distributing private keys, KSK, zone signing key rollovers, and zone signing for a specific zone. it also makes sure that child zones ad signed delegation are sync and up to date. Key Master can be configured on any authoritative DNS server hosting a copy of the primary zone. As long as the server hosts the primary zone, that server can be designated as Key Master for Multiple zones. Key Master is automatically configured when you initially create the DNSSEC Zone. Securing DNS.
Configuring DNSSEC
Open Server Manager, click Tools, and open DNS manager, in the DNS Manager, browse to your Domain name the right click domain name, click DNSSEC and then click Sign the Zone.

In the Zone signing Wizard interface, click next
On the signing options interface, click Customize zone signing parameters and then click Next.

If appeared
On the Key Master interface, ensure that “The DNS server LON-DC1 is selected as the Key Master” and then click next
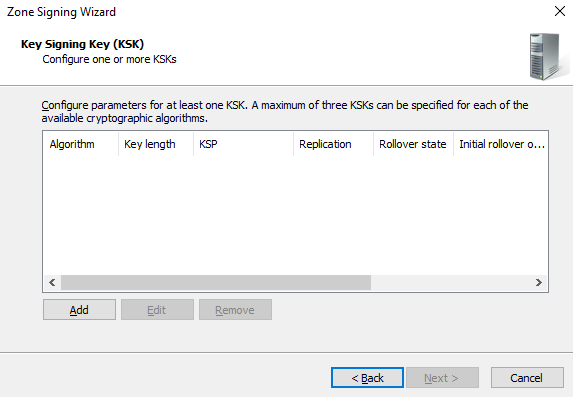
On the Key Signing Key (KSK) interface, click next

On the Key Signing Key (KSK) interface, click Add.
On the New Key Signing Key (KSK) interface, keep all settings as default and click Ok.

On the Key Signing Key (KSK) interface, click next.

On the Zone Signing Key (ZSK) interface, click Next.
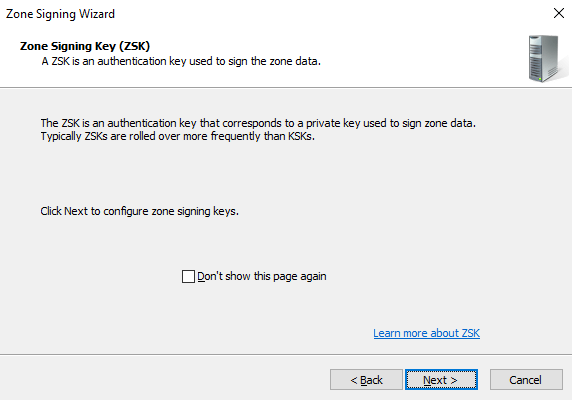
On the Zone Signing Key (ZSK) interface, click Add.

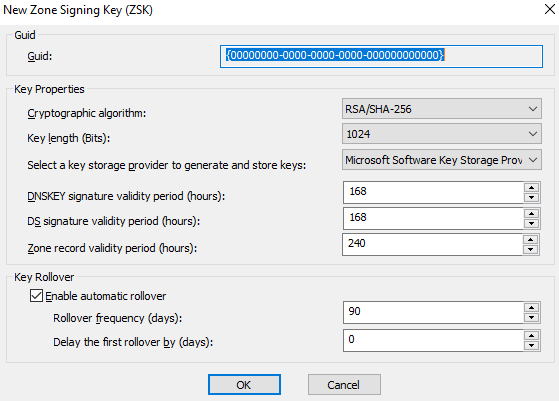
On the New Zone Signing Key (ZSK) interface, keep all settings as default and click Ok.
On the Zone Signing Key (ZSK) interface, click next.

On the next Secure (NSEC) interface, keep all the settings as default and click next.

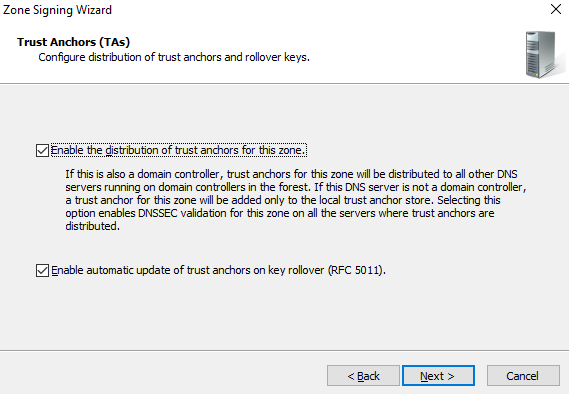
On the Trust Anchors (TAs) interface, check the Enable the distribution of trust anchors for this zone check box and then click Next.
A trust anchor is an authoritative entity that is represented by a public key. The TrustAnchors zone stores preconfigured public keys that are associated with a specific zone.
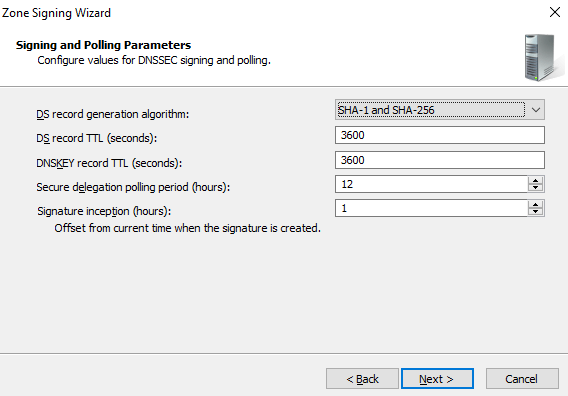
On the Signing and Polling Parameters interface, keep all the settings as default and click Next.
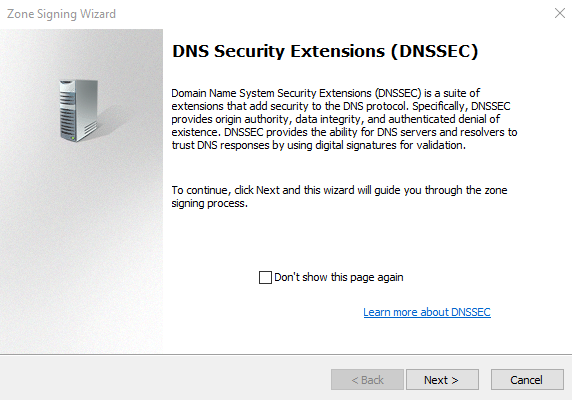
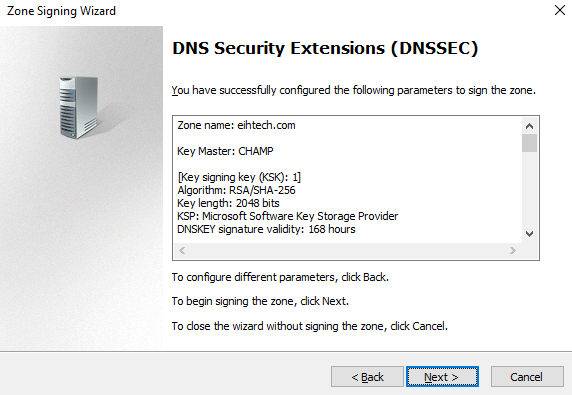
On the DNS Security Extensions (DNSSEC) interface, click Next.
On the Singing, the Zone, click Finish.

In the DNS console, expand Trust Points, expand com and then click your domain name.
Ensure that the DNSKEY resource records display and that their status is valid.

Now Open Group Policy Management, expand Forest: eihtech.com, expand Domains, expand eihtech.com, right-click Default Domain Policy, and the Click Edit.

In the Group Policy Management Editor interface, under Computer Configuration, expand Policies, expand Windows Setting, and then click Name Resolution Policy.
In the right pane, under Create Rules, in the Suffix box, type eihtech.com to apply the rule to the suffix of the namespace.
Select both the Enable DNSSEX in this rule check box and the Require DNS clients to check that the name and address data has been validated by the DNS server check box and then click Create.

Output