Table of Contents
Storage Spaces And Data Deduplication – Implementing Storage Spaces
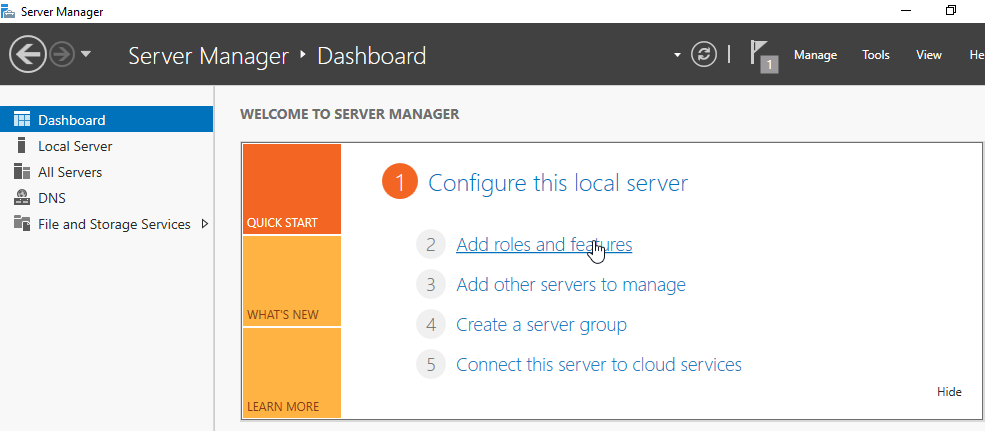
We connect 3 hard disks in addition to the system hard disk for this Lab environment. Select File and Storage services from Dashboard.
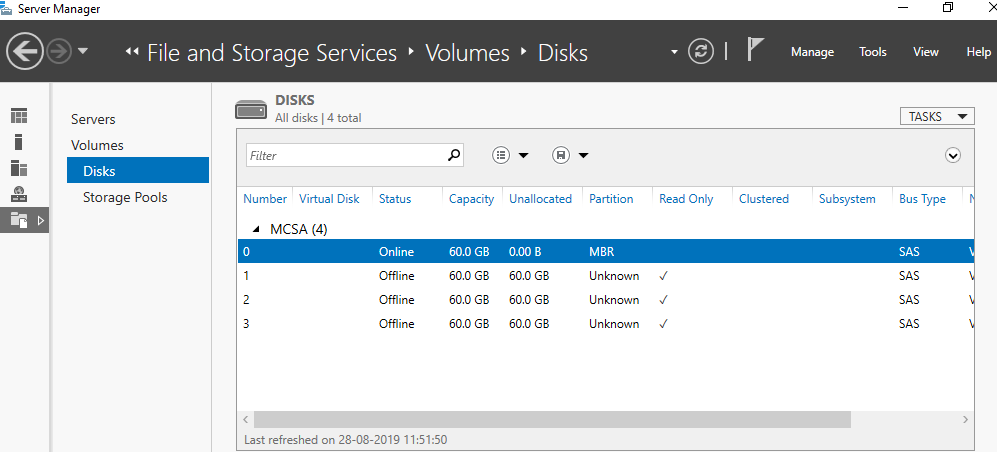
Select Disk option under Volumes and we will see 3 additional hard disks attached with the computer.
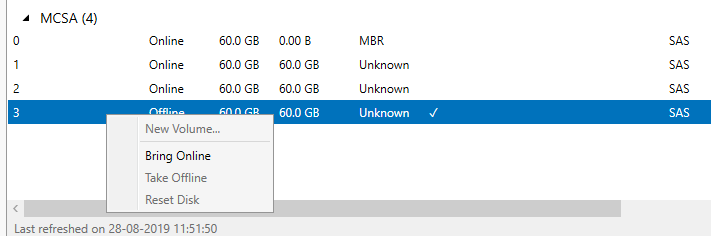
Right-click on each of the hard disks and select bring online.
Once all the hard disks are online right click on the hard disk and select initialize option.
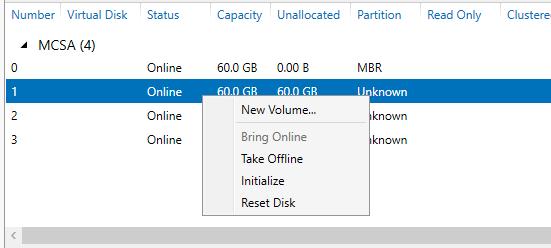
Pop-up will arrive to indicate that the disk will become GPT. Click the Yes button.
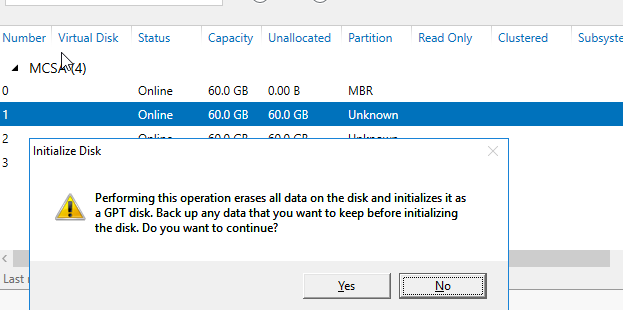
Initialize all 3 hard disks.
Go to the Storage Pools option under Volumes.
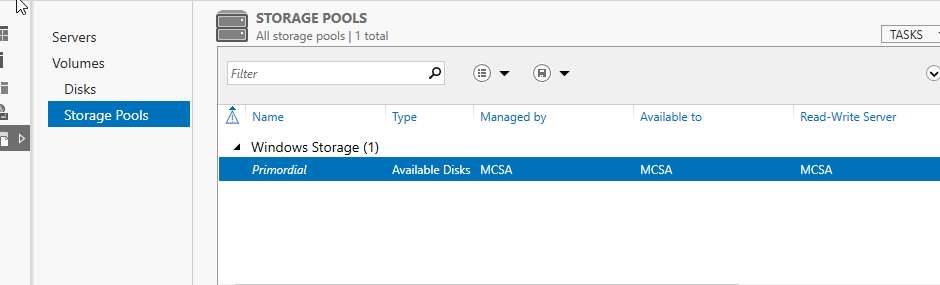
Click on the Tasks button and select New Storage Pool to start the New pool wizard.

Specify Storage pool name. we specified the name as Pool1.
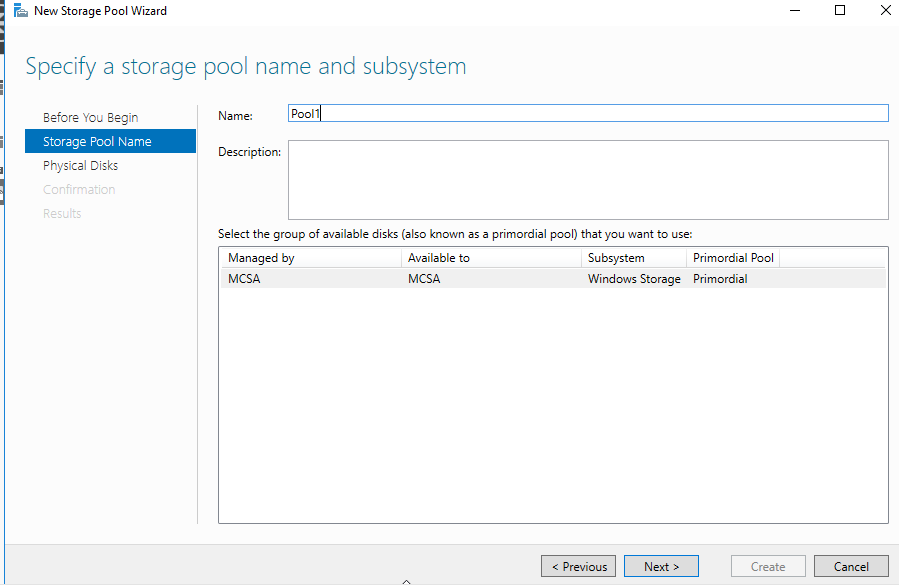
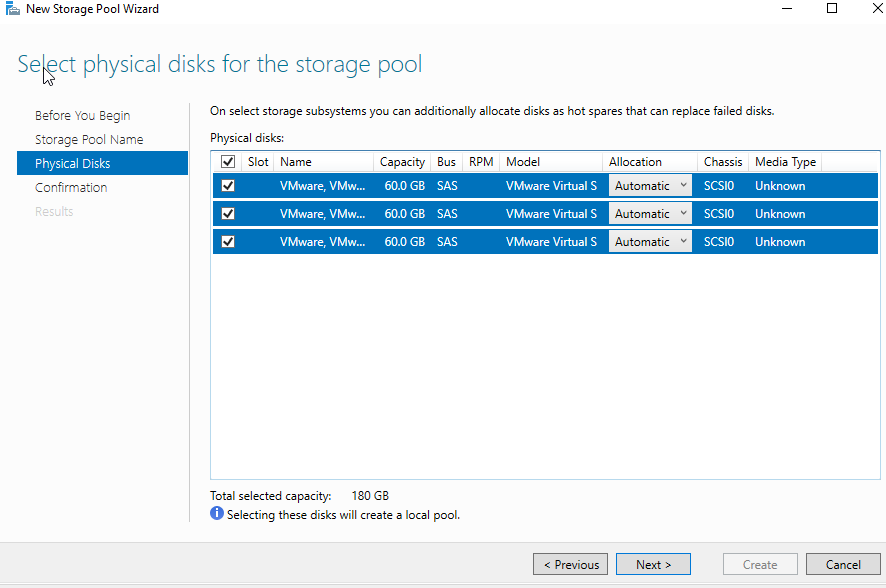
Select the Hard Disk to be added to the storage pool and select the allocation option as Autonomic.
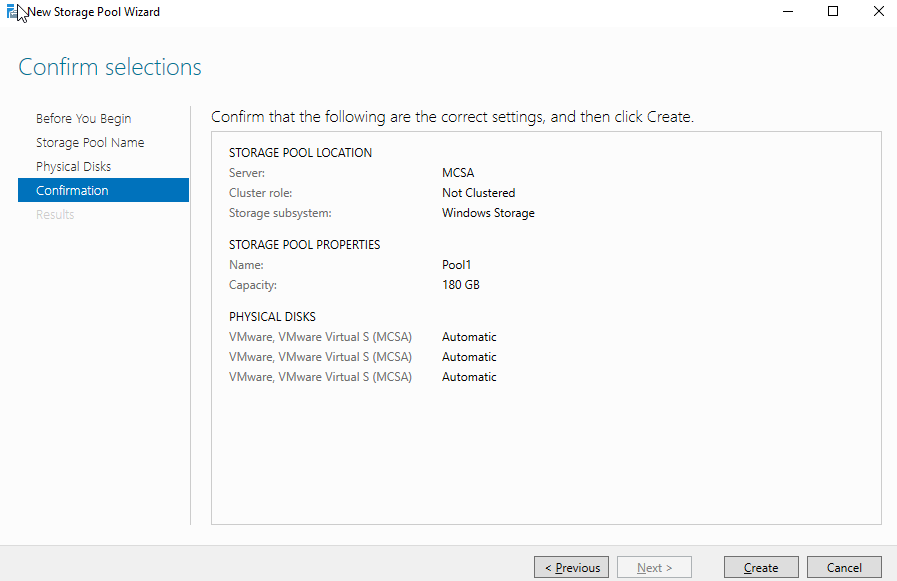
On confirmation, page click Create button to start Pool creation.
Storage pool Details can be seen on the dashboard.
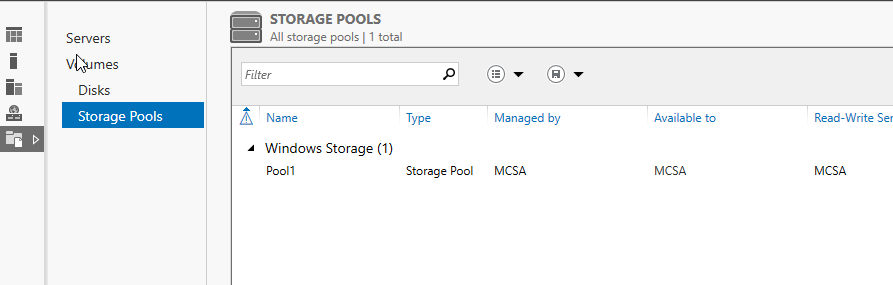
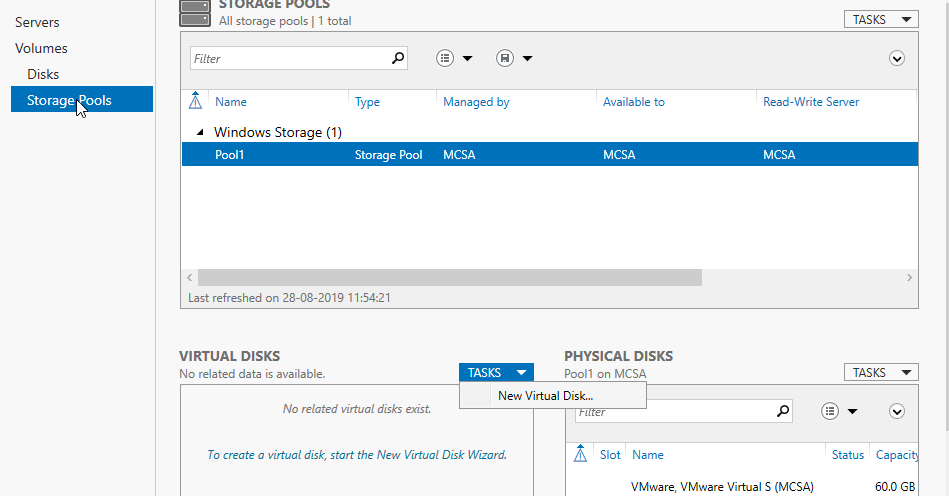
Select Pool1 from the Storage Pools option.
In Virtual Disks Pane press the Tasks button and select New Virtual Disks.
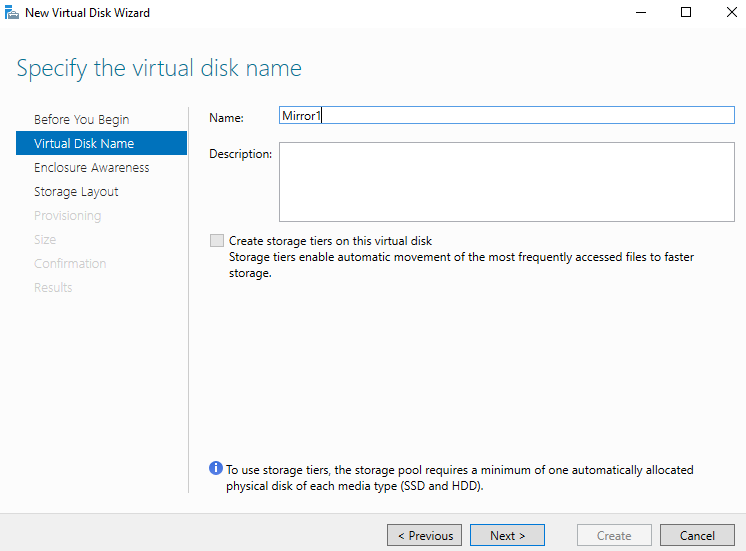
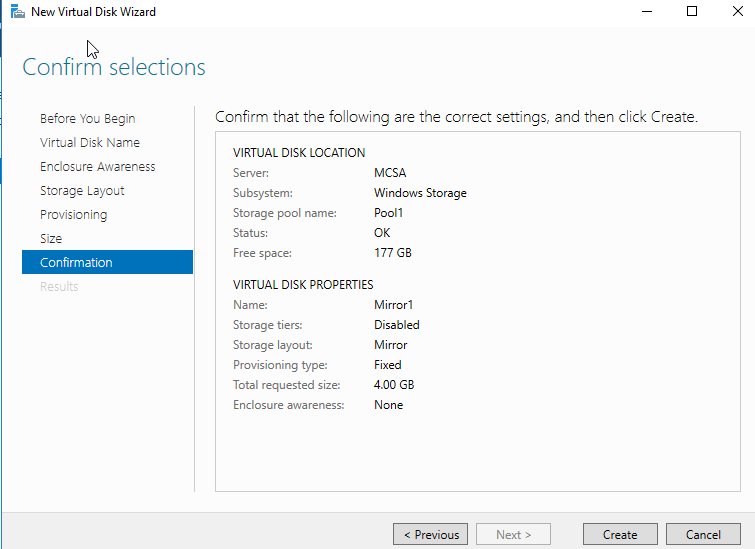
Assign the name as desired. We specified Mirror1 to New virtual disk as we want to create a mirror.
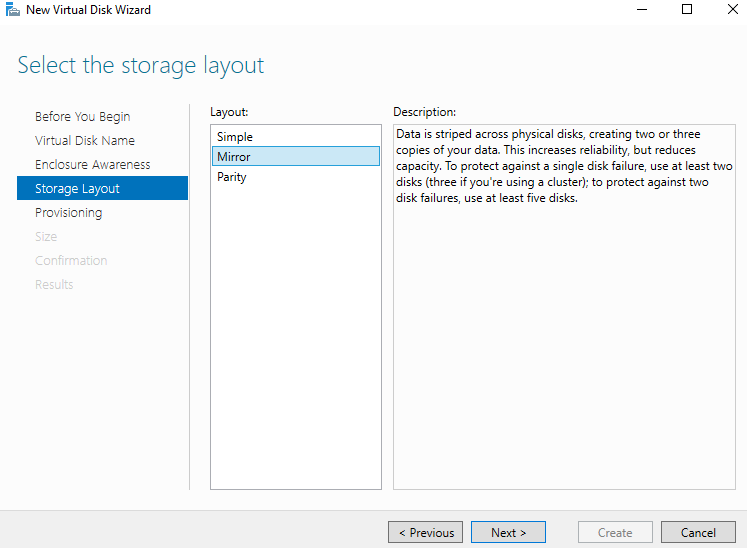
You can select the storage layout as desired. We selected a mirror.
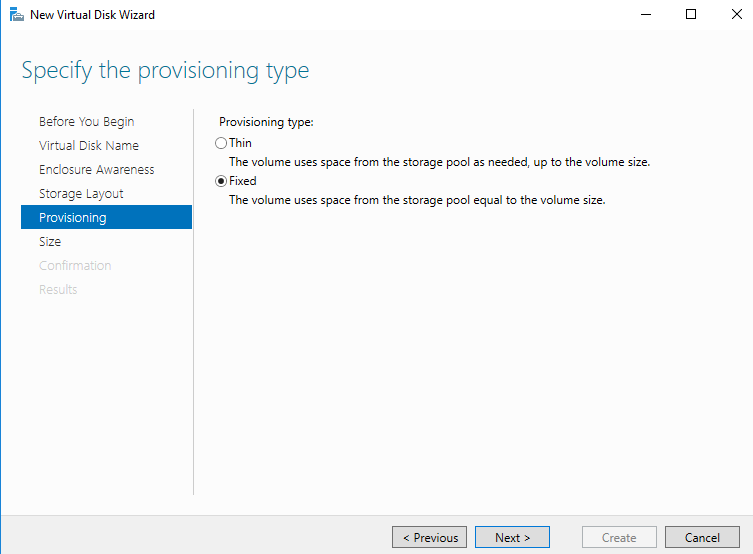
Select the provision type either Thin or Fixed as required.
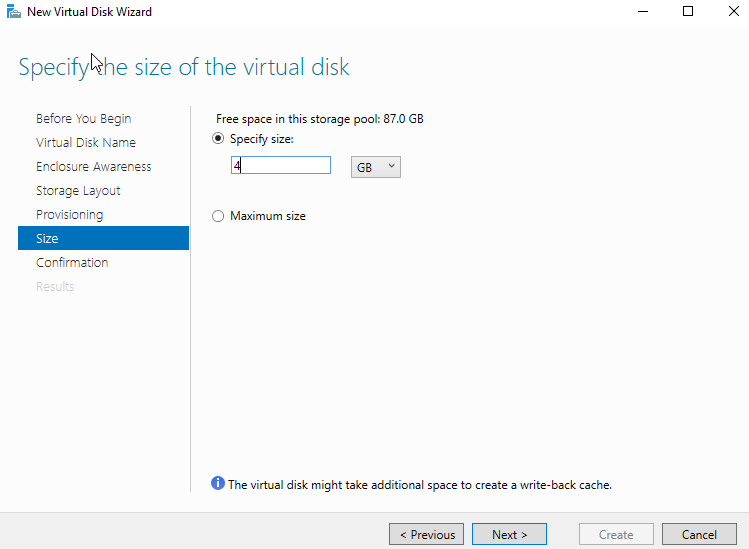
Specify the size from available space. We specified 4 GB.
Press Create button on the confirmation page to start Virtual Disk creation.
Virtual Disk created can be seen on Dashboard or Disk Management console.

Storage Spaces And Data Deduplication – Implementing Data Deduplication
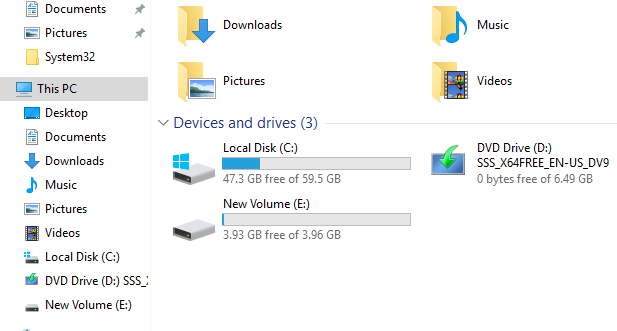
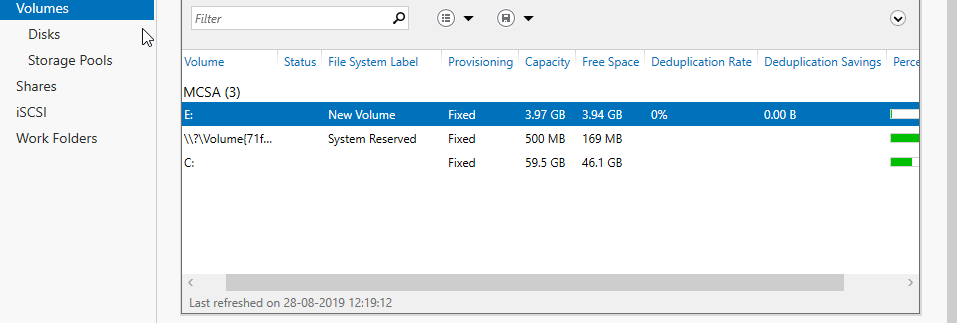
We are having 2 drives on Hard Disk. We will use E: drive for data deduplication.
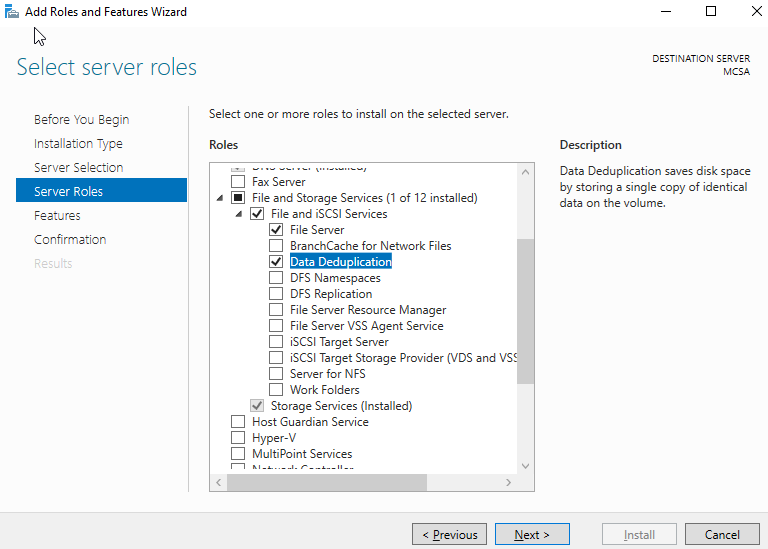
Open Add roles and features.
Under Roles select File and Storage service- File and iSCSI services – Data Deduplication role.
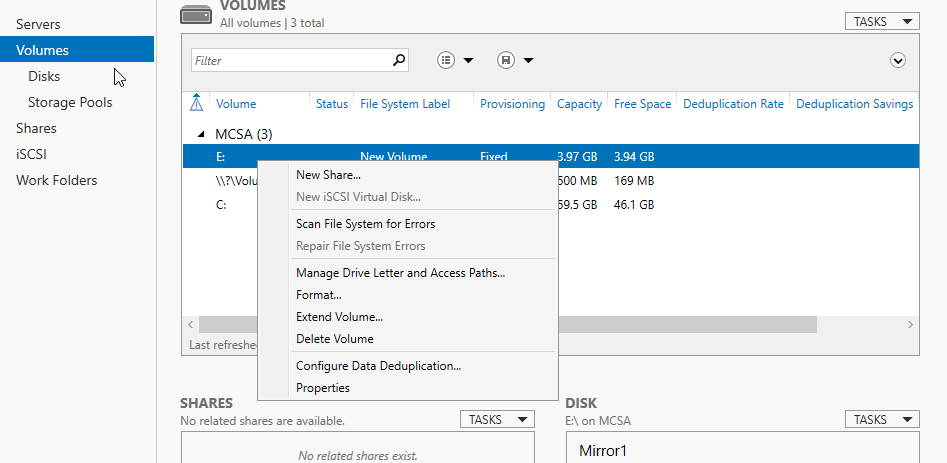
In the File and Storage option under Volumes select E: drive. Right-click and select Configure Data Deduplication.
Select the General Purpose File Server option. You may select another option as per your environment.
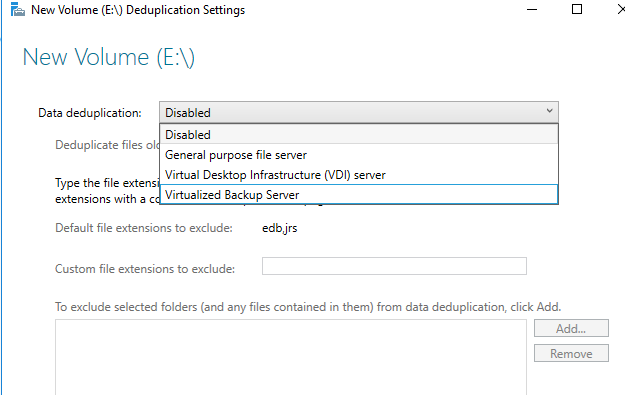
Enter the number of days that should elapse from the date of file creation until files are deduplicated, enter the extensions of any file types that should not be deduplicated, and then click Add to browse to any folders with files that should not be deduplicated.

On Dashboard, you can see Deduplication status.
Grammarly – Best Free Grammar checker | Spelling checker | Mistake-free document writer for Laptop/Desktop
Online Surveys – Earn Real Money by Online Surveys
Kids Books – 10+ books for Kids | Age group 2 – 10 | Improve knowledge & Productivity