DHCP Database Backup
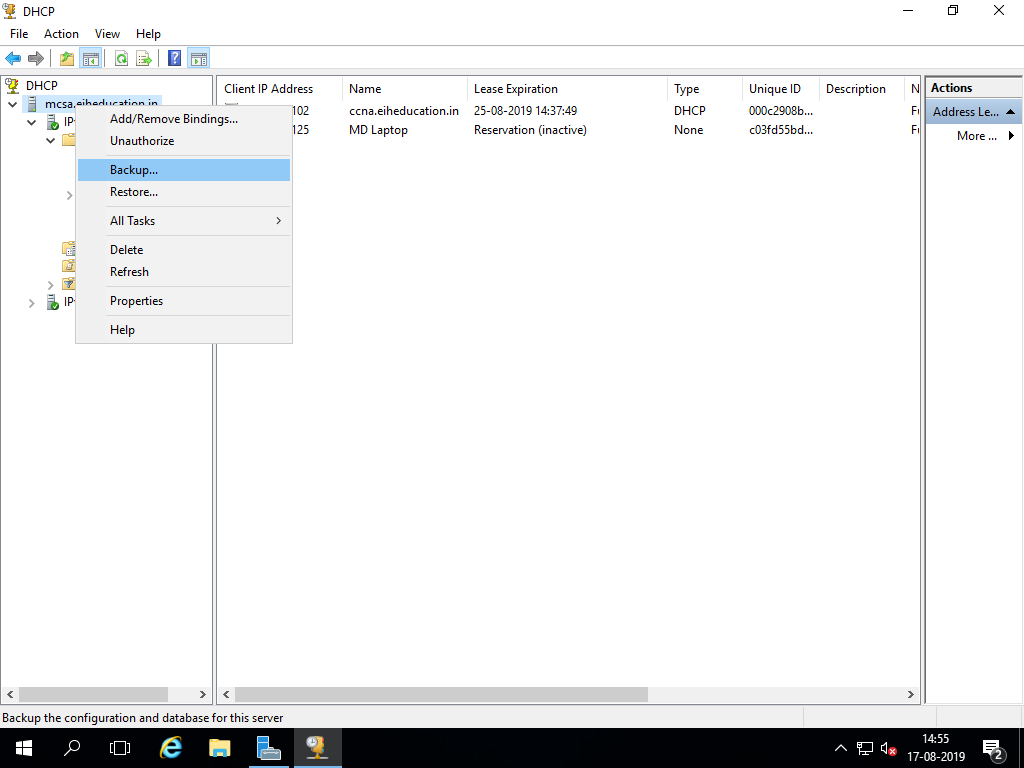
The DHCP database is automatically backed up every 60 minutes. You can manually backup the database anytime in the DHCP management console by right-clicking the DHCP server and selecting Backup. The following items are backed up:
- All scopes
- Reservations
- Leases
- All options, including server options, scope options, reservation options and class options.
- All registry keys and other configuration settings that are set in DHCP server properties.
Creating Backup of DHCP database
Open DHCP management console. Right, Click on Server name and select Backup.
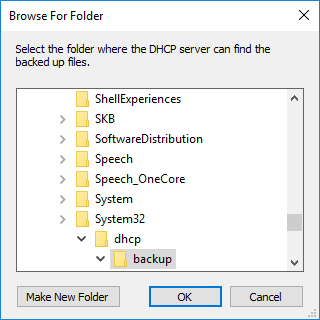
Select the folder to save the backup. Default location is %SystemRoot%\System32\dhcp\backup. Backup of the Database will be saved.

Restoring DHCP database
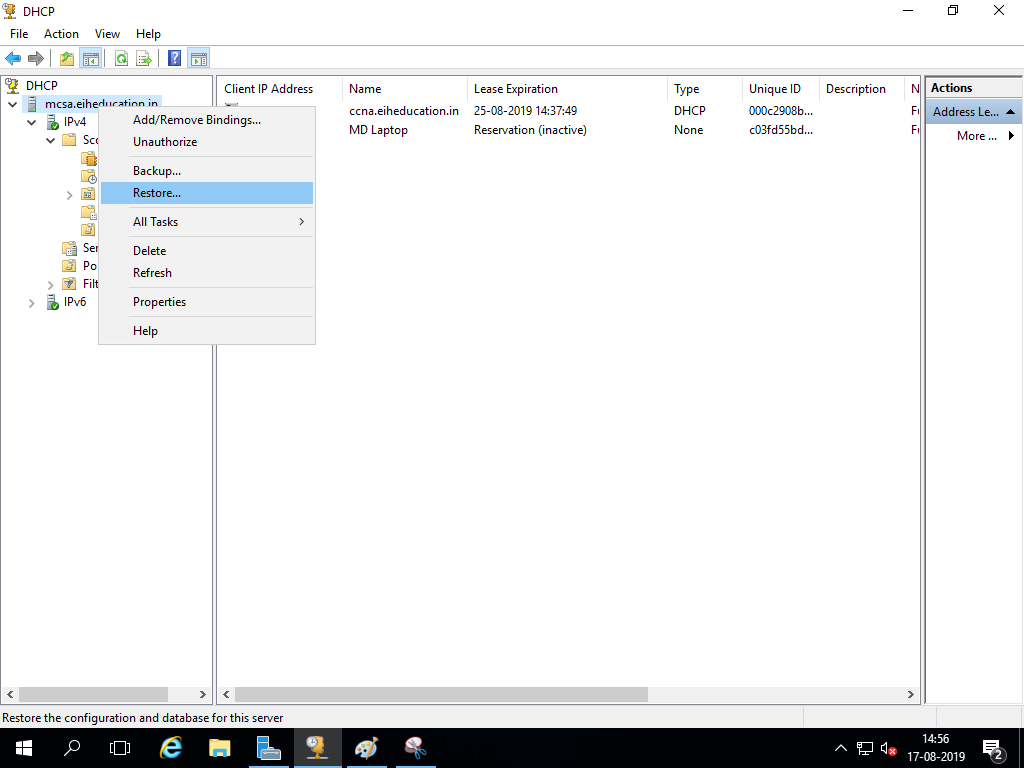
To restore the backup, Open the DHCP management console. Right, Click on Server name and select Restore.
Select the same folder where we have stored the backup.
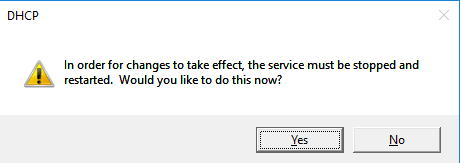
A message will Pop-Up for restarting the service. Press the yes button. The database will be restored.
Reconciling DHCP Database
Reconciling is the process of verifying DHCP database values against DHCP registry values. Reconciling a DHCP database should be done in the following scenarios,
- The DHCP database values are configured correctly, but they are not displayed correctly in the DHCP console.
- After you have restored a DHCP database, but the restored DHCP database does not have the most recent values.
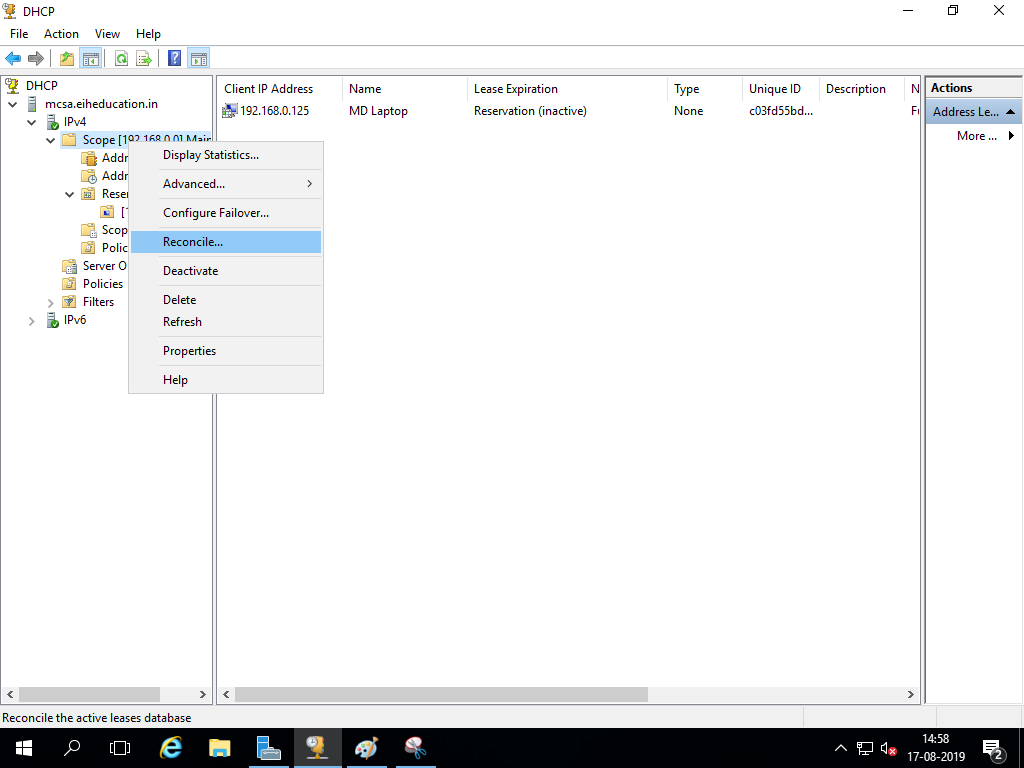
To reconcile the data, open the DHCP management console. Right-click on the scope and select Reconcile.
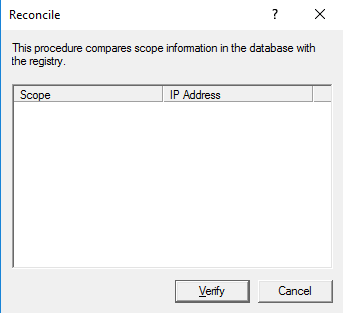
Press verify button to start a comparison between database values and registry values.
The process will return consistency in the database, click on OK.
Migration of DHCP Server
When you decommission an outdated or old server, you must migrate the services from the old server to a new server. Migrating DHCP to a new server is a pretty straightforward process. First, you need to use command-line utilities to export the DHCP data from the old server to a file. Stop the DHCP service from the old server. Then you have to install the DHCP server role in the new server and then import the data from that file to the new DHCP server.
We are using two windows server machines in this scenario. Eih.eiheducation.in with IP address 192.168.0.1 and Eih.eihstore.com with ip address 192.168.0.2. Eih.eiheducation.in is hosting DNS< ADDS and DHCP service.
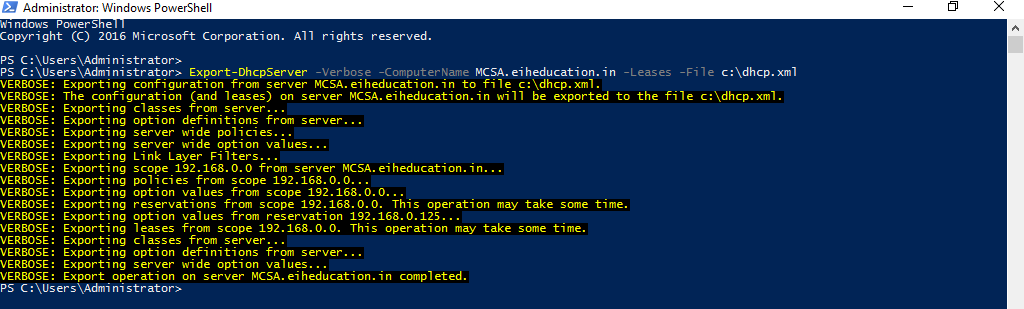
On Eiheducation.in the machine, use the PowerShell command to export the DHCP database to a file dhcp.xml on C:\ drive.
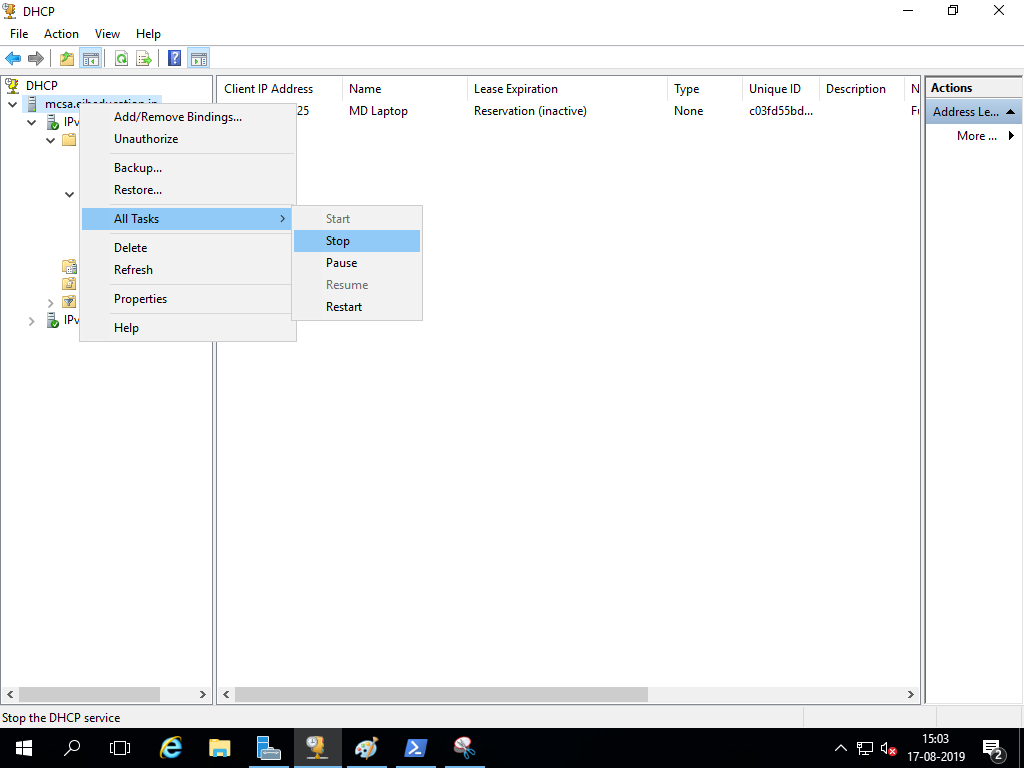
Open DHCP management console. Right-click on the server name and select All tasks — Stop. It will stop DHCP service.
On Eihstore.com machine, install DHCP server Role from Server Manager, select DHCP Server in roles and complete the installation process.
After installing the installation, select the complete DHCP Configuration link to the Start Post-Install configuration wizard.
Start the Authorization process by pressing the Next button. Then specify proper credentials and Press the Commit button to complete the process.

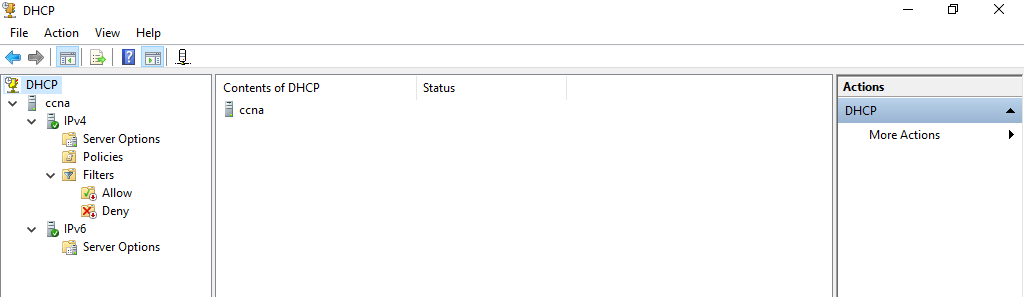
Open DHCP management console. We can see that there is no Scope present.
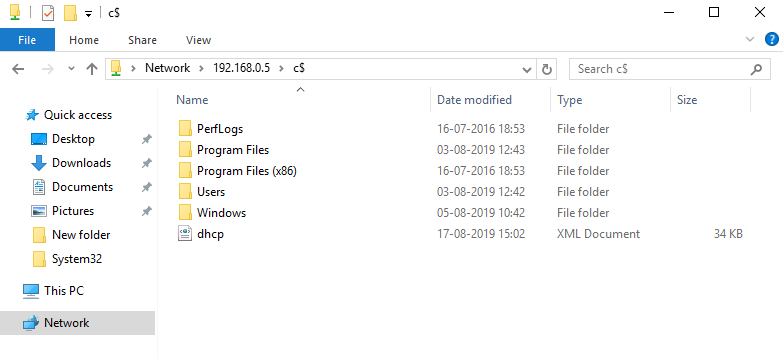
Copy the dhcp.xml file created on Eiheducation.in to C:\ drive on Eihstore.in the machine.
Open PowerShell on Eiheducation.in the machine and import the configuration.

In DHCP management, we can see imported Scope.

Superscopes and Split Scopes
Superscope: A superscope is a collection of different scopes that are grouped together for administrative purposes.
Implementing Superscope
We will require one DHCP server for this scenario. Eiheducation.in is our DHCP server.
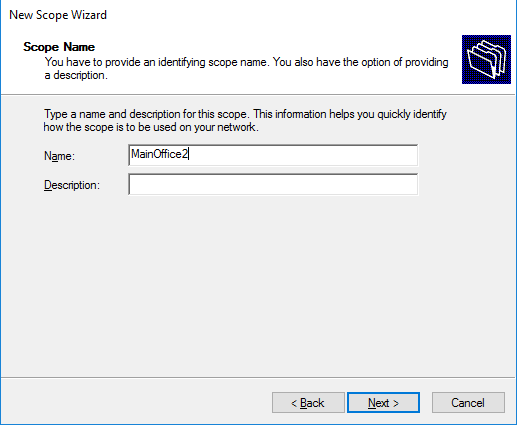
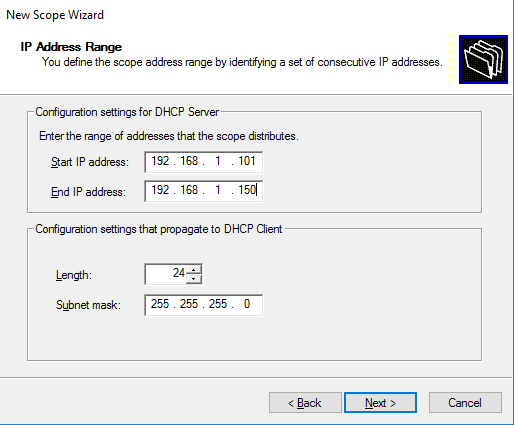
Open DHCP management console on Eiheducation.in We already created one scope ranging from 192.168.0.101 to 192.168.0.50 in our previous practical. Now we are creating one more Scope.
Specify the range from different subnetworks (192.168.0.101 to 192.168.0.150)
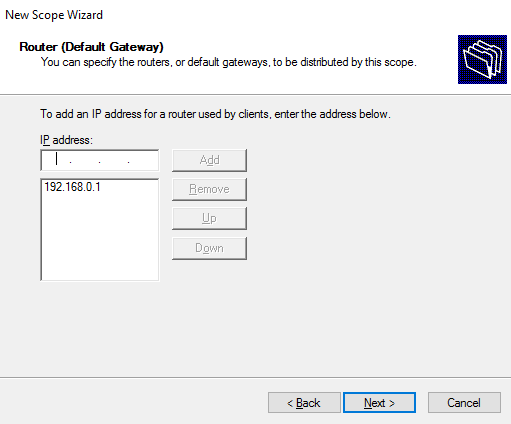
Add the appropriate gateway for the new scope.
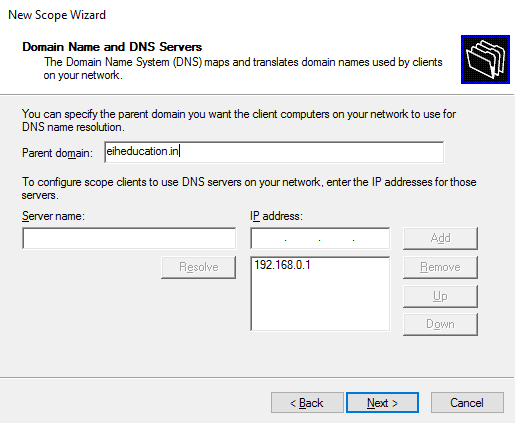
Domain and DNS server will be selected automatically as it is an authorized server.
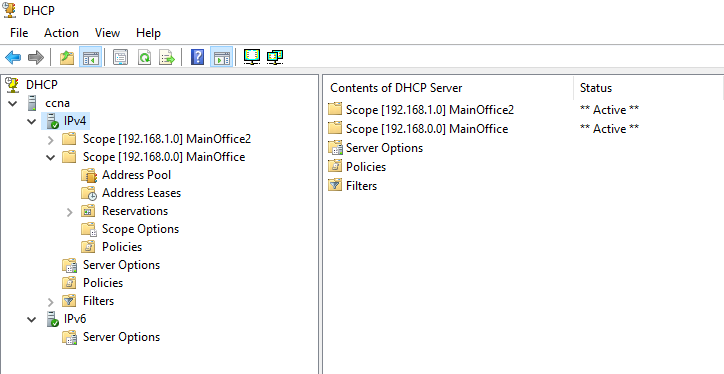
Both scopes will be listed below IPv4.
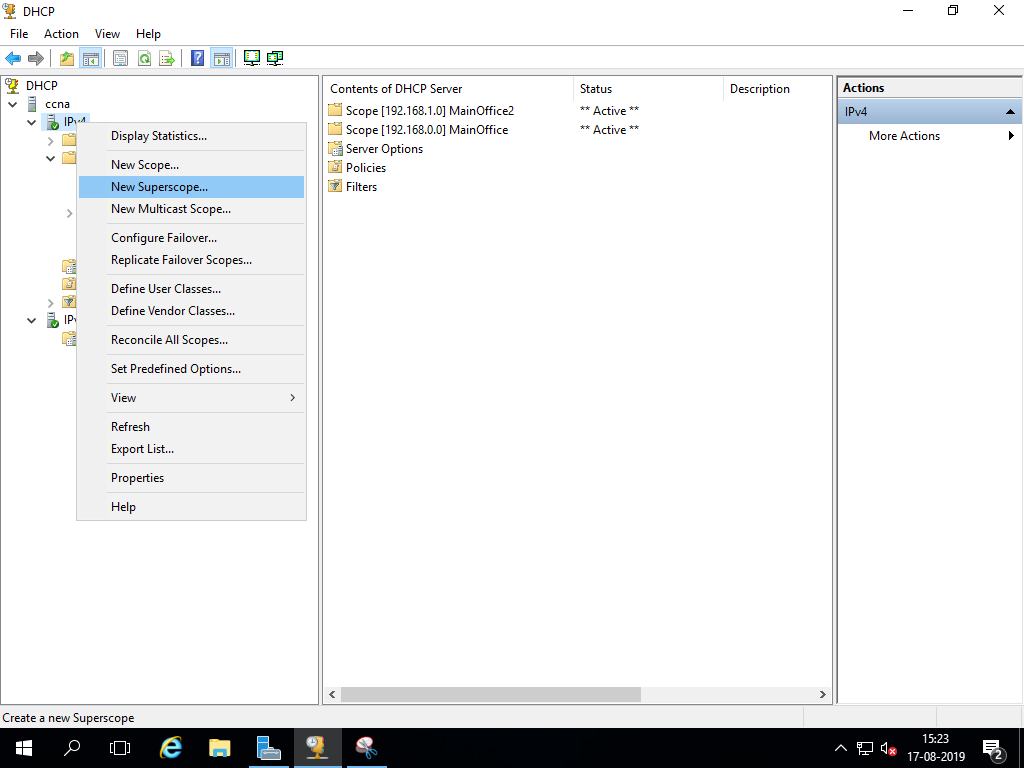
Right Click on IPv4 and select New Superscope. Option.
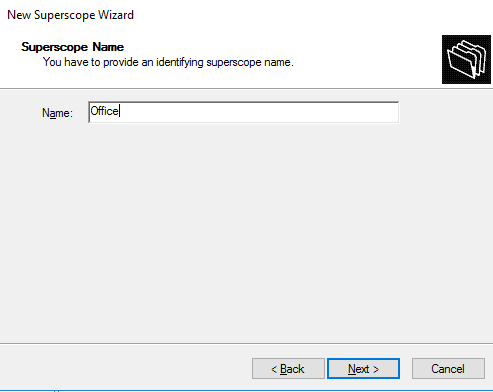
Specify a name for Superscope.
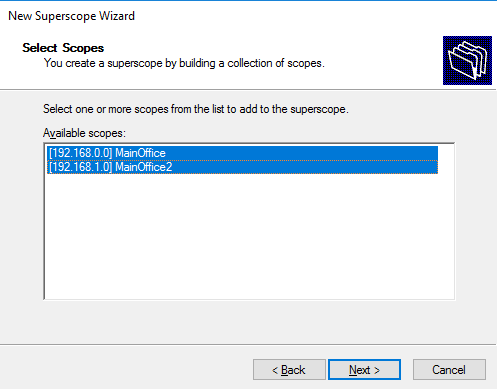
Select the scopes you want to manage under New Superscope.
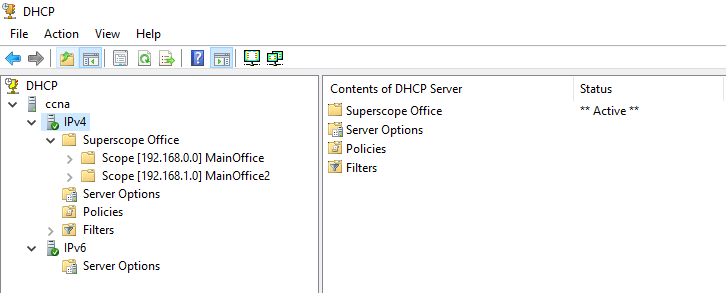
After finishing the wizard will list two scopes under the Superscope.
Split Scope: A split scope scenario involves two DHCP servers. Each DHCP server controls a part of the IP addresses Scope and both servers are active on the same network. Split scopes can be used for the following reasons,
Provide load balancing between two DHCP servers
Ensure high availability DHCP services for your network
Implementing Split scopes
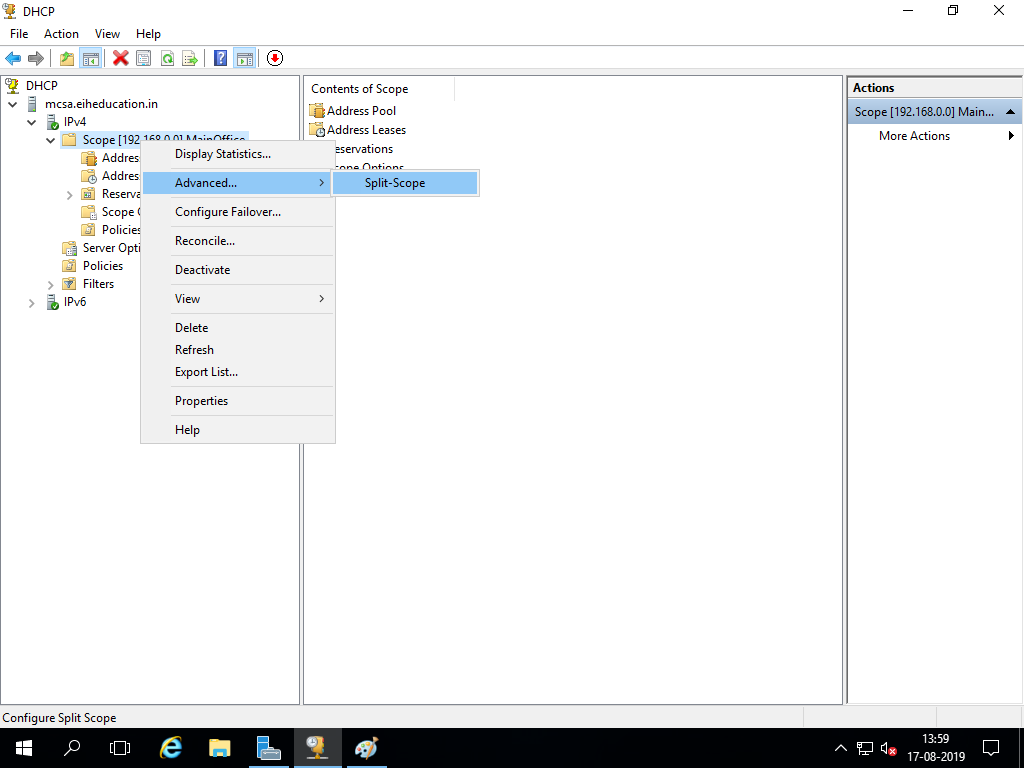
We are having two DHCP servers. We created on the scope on Eiheducation.in. Right-click on Scope and select advance then split-scope.
Split-scope configuration wizard will start. Press Add Server button for configuring the Additional DHCP Server.
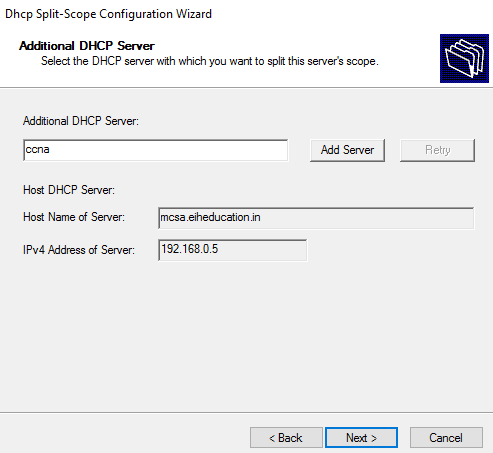
Select Eihstore.in and press OK.
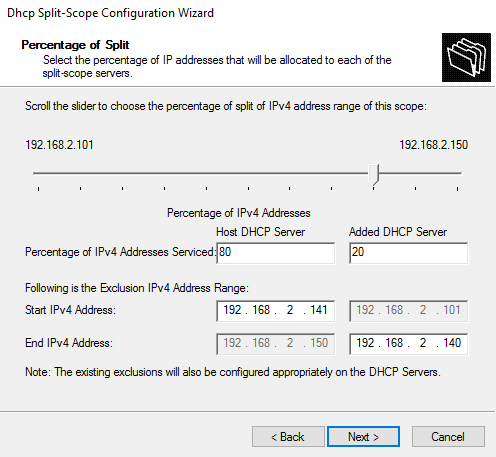
Select Percentage of Split to split the scope between two DHCP servers.
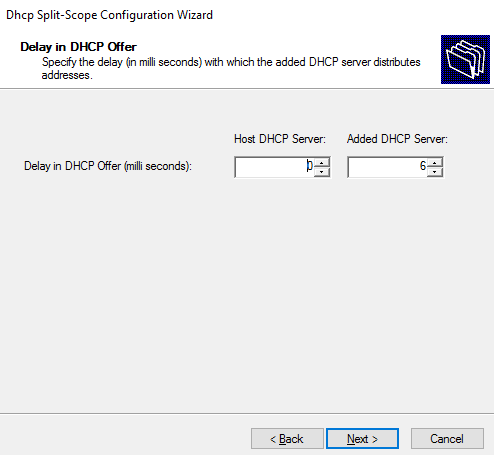
We can select Delay in the DHCP offer. Server with less Delay time will be a primary DHCP server.
Finish the wizard and close the Summary of Split-scope Configuration once the configuration is successfully completed.
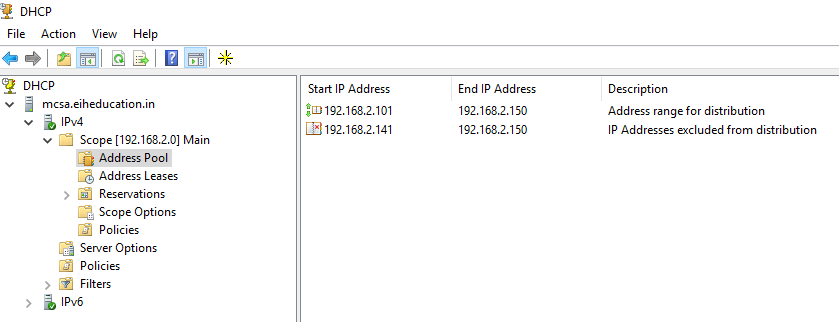
On Eiheducation.in we can see the excluded IP Address as follows.
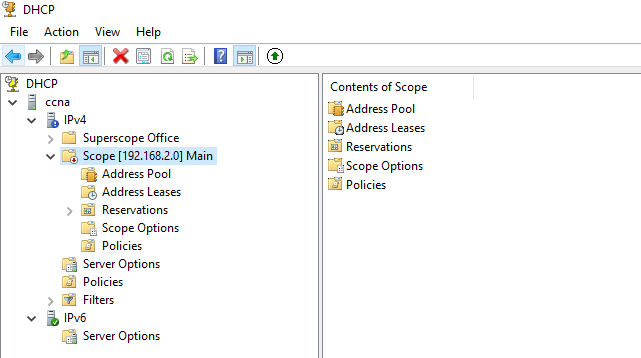
On the Second server, Eihstore.in we can see the scope.
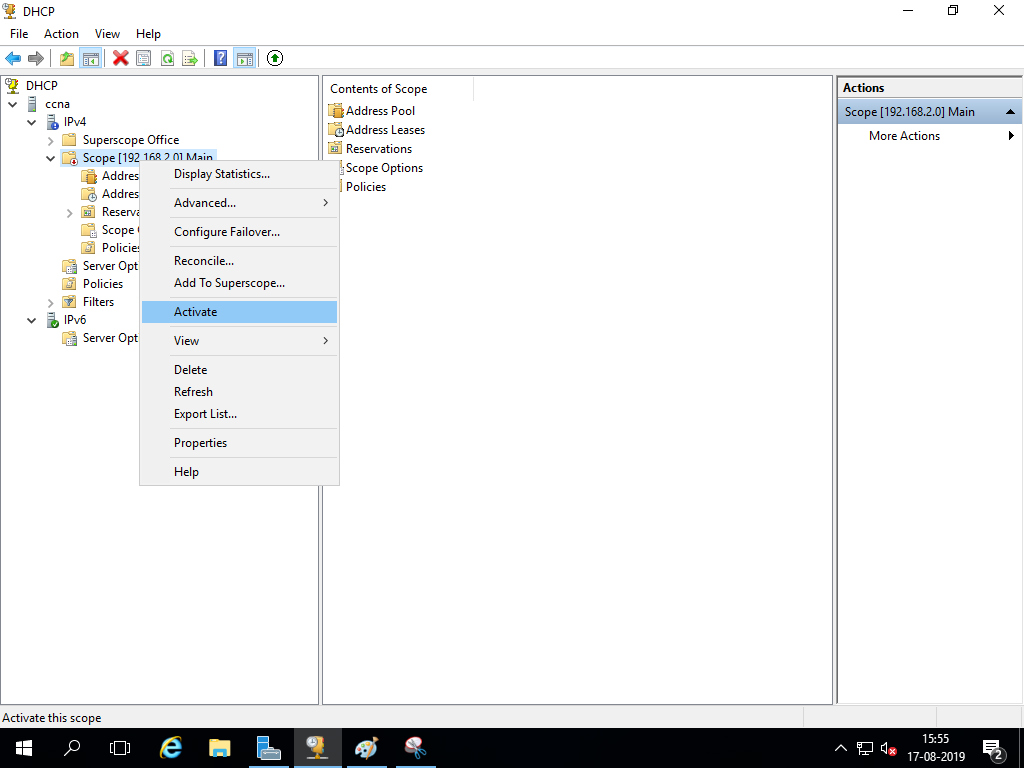
Right Click and Active the scope
In Address Pool you can see the distribution

DHCP Failover: When a DHCP service fails on the network, the client loses connectivity to the network and all of its resources. DHCP failover is a feature in Windows Server that addresses this issue. DHCP failover works by replicating IP address lease and setting of DHCP scopes from a primary DHCP server to a failover partner server. All scope information is shared between the two DHCP servers, including active leases. This enables either of the DHCP servers to provide leases to the same subnet for load balancing or redundancy purposes.
Implementing DHCP Failover
We are having two DHCP servers Eiheducation.in and Eihstore.com. Eiheducation.in is configured with 192.168.0.0/24 scope. Right-click on Scope and select Configure Failover.
Select the Scope for which you want to configure Failover
Specify the Partner Server by Pressing Add button and browsing through the options.
Select Hot standby Mode. You can optionally configure Address reservation and Shared secret.
Pressing Finish Button will complete the Failover Configuration.
On Eihshop.in the scope will get replicated.
On the client, we can see the DHCP server address in Network connection Details.
Stop DHCP service on Eiheducation to check Failover.
On the client machine, run the following commands,
Ipconfig /release
Ipconfig /renew
No one is the client, we can see partner DHCP server in Network Connection Details.
Check Out the Headphones – 50% to 70% Off
Check Out the Earbuds – 50% to 70% Off
Grammarly – Best Free Grammar checker | Spelling checker | Mistake-free document writer for Laptop/Desktop
Check Out The LAB Configuration eBook – Class A, Class B, Class C, MiN worth $78 Get at $18